
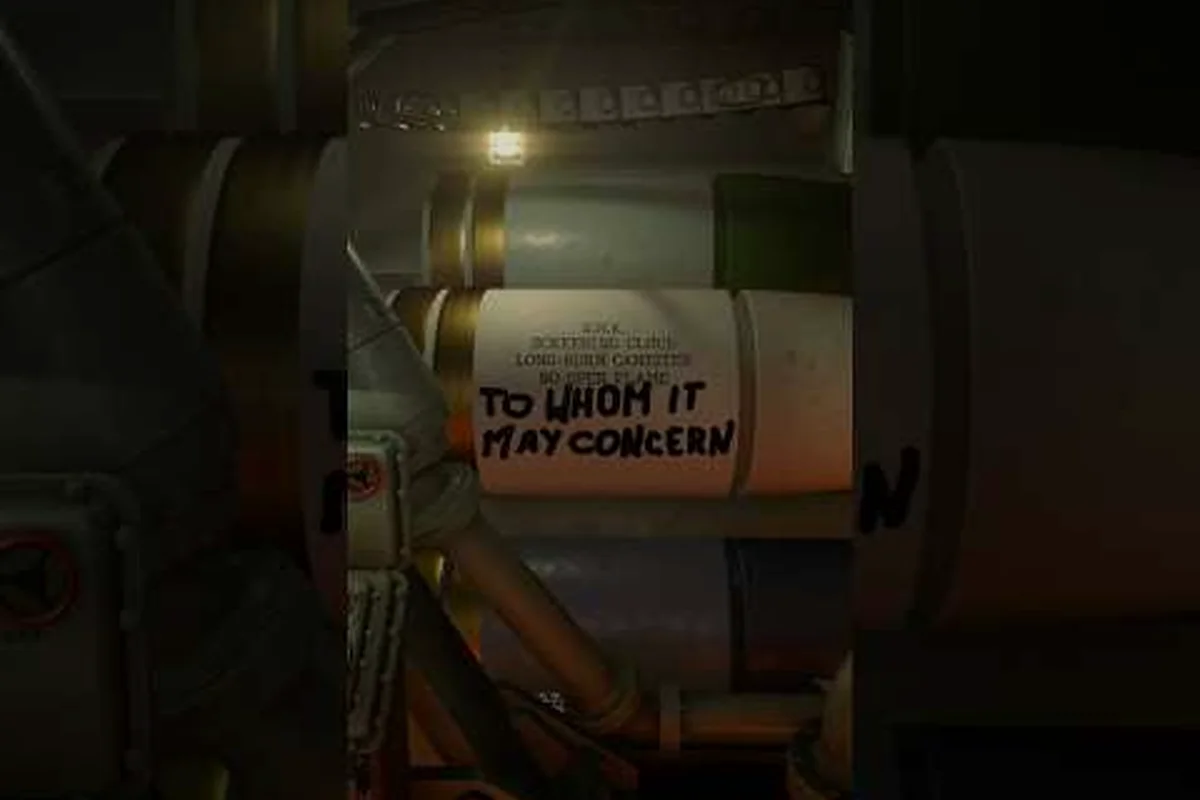
Night missions in IRON NEST: Heavy Turret Simulator punish gun crews who cannot see their targets, and the Iron Nest illumination shell is the only practical answer when a teleprinter order arrives after sunset. Also called the STAR round in community shorthand, this zero-damage cartridge is purpose-built for spotting, not killing, which means new players often overlook it while staring at the HE and AP racks. The payoff is huge: every successful flare lights the tactical map, exposes enemy armor silhouettes, and unlocks correction-based follow-up shots. Get the firing rhythm right and your whole squad starts landing hits in conditions that would otherwise force a mission abort.
Illumination Shell Combat Functions and Deployment Timing
The Iron Nest illumination shell is a spotting cartridge that trades explosive power for airborne light. Once fired, the projectile arcs along a ballistic trajectory similar to an HE round, then deploys a parachute-suspended flare at the apex, bathing a wide radius around the impact zone in white light for several seconds. According to community testing on the Iron Nest ammunition wiki, the shell inflicts zero structural damage to vehicles, infantry, or buildings, which means firing it solely for damage output is always a misallocation of your loader's time. The real value comes from the seconds of visibility it grants to every instrument in the turret, from the eyepiece on the ballistic calculator to the periscope above the gun breech.
Round Profile at a Glance
| Property | Value |
|---|---|
| Internal designation | STAR / Illumination |
| Damage type | None (spotting only) |
| Effective light radius | ~150 m around airburst point |
| Burn duration | ~8–10 seconds (community estimate, may vary by map) |
| Compatible powder charges | Charges 2–5 (mid-arc trajectories) |
| Best mission profile | Night engagements, fog events, smoke-saturated zones |
| Unlock requirement | Available from Mission 1 in the Fire and Light arc |
Because the cartridge carries a flare payload rather than a high-explosive filler, its mass profile differs from AP and HE rounds, and the firing card generated by your calculator reflects that with a slightly flatter arc at equivalent charges. Crews who fire a STAR round with the same powder setting they use for HE typically watch their flare drift past the target grid square, which is why understanding the loading step is just as important as knowing when to reach for this shell in the first place.
Why the Star Shell Exists in a Heavy Turret Game
Dieselpunk artillery sims rarely dedicate an entire ammo slot to a non-lethal round, but the developers at Nick Nieuwoudt's studio built the six-step fire cycle around the assumption that crews will sometimes need to confirm what they are shooting at before committing powder. The Iron Nest star shell is the bridge between raw intelligence and a confirmed firing solution, especially in the Fire and Light mission arc where the scenario forces players to operate under blackout conditions. Without a flare, your spotters can only guess at distances, and your ballistic calculator becomes a coin-flip machine.
How the Star Shell Fits Into the Six-Step Fire Cycle
Every shot in IRON NEST: Heavy Turret Simulator follows the same six-step rhythm, and the Iron Nest illumination shell slots into that loop in a unique position because it generates the intelligence that the next shot will consume. If you are unfamiliar with the full cycle, the shell selector lever overview walks through how to swap ammo types mid-mission without dropping the rhythm.
The Standard Fire Cycle vs a Star-Shell Opening
| Step | Standard HE Engagement | Star-Shell Opening Engagement |
|---|---|---|
| 1. Intel | Teleprinter delivers target grid | Teleprinter confirms night conditions, no visual ID |
| 2. Plot | Mark grid on tactical map | Mark grid, flag "no visual" on the map table |
| 3. Calculate | Solve bearing and elevation with AP/HE profile | Solve for mid-arc airburst using STAR profile |
| 4. Load | Load HE + powder charge 4 | Load Iron Nest illumination shell + charge 3 |
| 5. Lay | Set gunlay to calculator output | Set gunlay to calculated flare solution |
| 6. Fire & Correct | Fire, observe splash, walk fire onto target | Fire, observe light, plot corrected grid for follow-up HE |
The crucial difference shows up in step six. When you fire HE first, you are betting that the original grid from the teleprinter was accurate enough to land a hit. When you fire a STAR round first, you trade one extra round of powder and loading time for a confirmed grid square lit by the flare, and the HE follow-up almost always lands because the spotters are now looking at a real target rather than an assumed position.
Powder Charge Recommendations for Flares
Selecting the wrong charge is the most common mistake new crews make with the Iron Nest star shell, because the round is light enough that the same charge used for HE will lob the flare far past the intended area. Community testing suggests the following charge-to-range mapping, although exact numbers may vary slightly by map elevation and wind:
| Powder Charge | Approx. Flare Range | Best Use Case |
|---|---|---|
| Charge 2 | Short range, low arc | Urban fights, close bunkers |
| Charge 3 | Medium range, standard night spot | Default Fire and Light opening |
| Charge 4 | Long range, high arc | Hilly terrain, ridge targets |
| Charge 5 | Maximum range, very high arc | Emergency recon beyond HE reach |
Charge 6 is rarely optimal for flares because the round becomes so light relative to the propellant that wind drift dominates the trajectory and the flare bursts off-target. Stick to charges 2 through 4 unless the teleprinter explicitly marks an extreme-range grid square.
Comparing the Illumination Shell to Other Ammo Types
Every loader in IRON NEST has to ration weight, and the Iron Nest illumination shell competes with AP, HE, and smoke rounds for limited rack space. The Iron Nest star shell companion page goes deeper into the HE versus STAR trade-off, while the smoke shell entry covers how flares and smoke pair together during contested engagements. The table below compares all four support and combat cartridges side by side so you can decide how many STAR rounds to keep on the rack before a night operation.
Damage and Utility Comparison
| Shell Type | Damage | Light Produced | Smoke Produced | Best Phase |
|---|---|---|---|---|
| Iron Nest illumination shell | None | Strong (8–10 s) | None | Opening spot, mid-fight correction |
| AP round | High vs armor, low vs infantry | None | None | Confirmed armor target |
| HE round | High vs infantry and light cover | None | None | Confirmed soft target, structures |
| Smoke shell | None | None | Heavy (15+ s) | Concealment, breaking line of sight |
| Star cluster (advanced) | Minor fragmentation | Strong, multiple bursts | Light | Wide-area denial, late-game unlocks |
The clear takeaway is that STAR rounds are not interchangeable with HE or AP, because they fill a recon role rather than a kill role. A well-stocked rack for a Fire and Light mission should carry roughly two STAR rounds for every five HE rounds, plus one or two smoke shells for emergencies, because the flare reveals position and the smoke covers your reload.
When the Illumination Shell Outperforms HE
There are three specific situations where the Iron Nest star shell will deliver better results than an immediate HE shot. First, when the teleprinter order arrives during a blackout phase and your spotters report zero visibility, firing HE blindly wastes a charge and alerts the enemy to your grid. Second, when the previous HE shot landed close but spotters are unsure whether it was a near miss or a clean hit, dropping a flare confirms splash location for the correction step. Third, when the wind is gusting hard enough to throw HE off the grid, a STAR round lets you observe drift and adjust the firing card for the next salvo without burning through your HE stockpile.
Iron Nest Night Recon Strategy and Mission Timing
Night recon is the discipline of using the Iron Nest illumination shell to convert darkness into actionable intelligence, and the Fire and Light arc is where most new crews either learn it or burn a mission. The core idea is to treat the flare as a single-use reconnaissance asset, plan its flight path in advance, and use the eight to ten seconds of burn time to update the tactical map, the firing card, and the spotters' mental model of the battlefield all at once.
Mission-Phase Tactics for Star Shells
| Phase | Recommended Action | Shell to Load |
|---|---|---|
| Mission start, blackout | Fire one STAR round at the suspected enemy grid | Iron Nest illumination shell, charge 3 |
| Flare burns | Update map, mark observed vehicles, log new bearings | N/A (spotter task) |
| Post-flare engagement | Load HE, fire on confirmed grid | HE round, matching charge |
| Enemy counter-flare | Fire smoke over your own position to break their sight | Smoke shell |
| Relocation under darkness | Fire STAR along new heading to scout the next ridge | Iron Nest star shell, charge 2 |
| Final phase, dawn breaking | Switch to AP for confirmed armor, retire STAR rounds | AP round |
Notice how the flare is fired first in nearly every phase. That ordering is intentional, because the cost of an inaccurate opening HE shot is far higher than the cost of a single STAR round that reveals whether your grid is even on the right hill. The Iron Nest night recon loop is built around this idea of "spend a flare to save an HE," and players who adopt it consistently report fewer wasted salvos and faster mission clears.
Common Mistakes When Using Star Shells
Even experienced crews slip up on a few predictable points when handling the Iron Nest illumination shell. The first mistake is loading the wrong powder charge, which causes the flare to burst either under the muzzle or a thousand meters past the target. The second mistake is forgetting to mark the flare's airburst point on the map table while it is still burning, because once the light fades you lose the only reference you had. The third mistake is treating the STAR round as a weapon rather than a tool, which leads to crews firing flares at enemy positions instead of above them, drastically reducing the effective light radius.
A fourth mistake worth flagging is firing STAR rounds back-to-back without a follow-up HE. The flare generates intelligence, but intelligence is worthless unless you act on it during the burn window, so the loader should already have an HE round cradled and ready the moment the spotting shot leaves the barrel. Crews that choreograph this two-round sequence as a single combined action will clear Fire and Light missions noticeably faster than crews who treat each round as an isolated decision.
Fire and Light Mission Walkthrough
The Fire and Light mission arc is the canonical training ground for Iron Nest night recon, and the Steam demo build available since the June 2026 Next Fest has helped more than 800,000 wishlisted players practice the flare-then-HE rhythm on the first map of the arc. According to community data reported by early access testers, teams that consistently open with a STAR round complete the mission roughly 25% faster than teams that open with HE, which is a substantial margin in a six-step cycle where every wasted round resets your loader to the rack.
First Salvo Checklist
Before the first teleprinter order arrives, run through this short checklist so your crew is ready to deploy the Iron Nest star shell without fumbling the powder charge:, which directly influences the overall firing sequence timing and downrange accuracy in Iron Nest's artillery simulation.
-
Confirm the shell selector lever is set to STAR, not HE, before the loader pulls a round.
-
Stage a powder charge between 2 and 4 on the loading tray, matched to the most likely range band.
-
Brief the spotter to mark the airburst point on the tactical map the instant the flare deploys.
-
Pre-stage an HE round on the loading tray for the immediate follow-up shot.
-
Note wind direction in the periscope so the flare drift can be compensated in the next firing card.
-
Illumination shells fired at charge 2 reach the optimal burst altitude for short-range night engagements
-
The parachute descent rate of the flare affects how long the illuminated area remains visible to the gun crew
-
Firing two star shells in quick succession extends the total illumination window beyond 15 seconds
-
Star shell deployment at charge 5 or higher produces a burst too high for effective ground-level visibility
-
The flare's white light spectrum does not penetrate smoke screens, requiring timing separation between illumination and concealment
That last point matters more than it seems. Wind at night is often stronger than it looks through the periscope, and the Iron Nest night recon loop assumes that the spotter will record the flare's actual drift relative to the predicted impact. Without that observation, the correction step collapses back into guesswork and the entire flare investment is wasted.
How the Loop Closes
Once the HE follow-up lands, the mission usually transitions into a daylight phase or shifts to a confirmed armor target, at which point the Iron Nest illumination shell moves from primary to support role. Keep at least one STAR round on the rack through the entire Fire and Light arc, because surprise blackout phases, smoke-filled courtyards, and respawn waves from the enemy can all force you back into the spot-then-strike loop even after the sun comes up. A well-managed crew will retire their last STAR round only when the mission clock crosses the final two-minute mark, by which point there is no time left to act on the intelligence it would generate.
Frequently Asked Questions
Is the Iron Nest illumination shell the same as the star shell?
Yes. The community calls the cartridge the "star shell" or "STAR round," and the in-game loading interface labels it as the Iron Nest illumination shell. Both names refer to the same zero-damage spotting round. Shell selection shapes every engagement's outcome in the firing cycle.
Does the Iron Nest star shell deal any damage to vehicles or infantry?
No. The shell is built around a parachute flare payload rather than an explosive filler, so it cannot destroy armor, kill infantry, or damage structures. Its job is to produce light, not casualties. Shell selection shapes every engagement's outcome in the firing cycle.
Which powder charge is best for the Iron Nest illumination shell?
Charge 3 is the most versatile default for standard night recon, while charge 2 works well for close urban fights and charge 4 suits hilly terrain with longer ranges. Avoid charge 6 because wind drift tends to throw the flare off the target grid.
Where does the Iron Nest night recon loop fit into the six-step fire cycle?
It sits between step one (intel) and step two (plotting), because the flare produces the visual confirmation that turns a teleprinter grid into a verified target. The HE or AP follow-up then uses the corrected firing card generated during the burn window.
Can I use the illumination shell during daytime missions?
You can, but it is usually a waste of powder. Daylight already provides the visibility the flare would generate, so the Iron Nest star shell is most valuable during blackout phases, fog events, or smoke-saturated engagements where line of sight is broken.