
Challenge Modes
Iron Nest challenge mode strategies — FDC pause management, batch targeting, scoring efficiency, leaderboard discipline, and the 8 challenge types explained
Introduction
Challenge modes test your turret operation skills under timed conditions across 8 distinct scenarios, each scoring different aspects of operator proficiency. FDC pauses let you temporarily halt counter-battery fire to process multiple targets, and efficient batch processing of same-bearing targets maximizes your score per pause cycle. The scoring philosophy rewards efficiency over perfection — process more targets correctly rather than fewer perfect shots. Challenge tiers range from S-tier FDC Pause and Survival modes through A-tier Batch Targeting and Speed Fire to C-tier Marathon and Blind Fire, each requiring different tactical approaches, ammunition loadout strategies, and instrument drill preparation for leaderboard climbing.
Challenge Types & Scoring Weights
| Metric | Weight | Strategy |
|---|---|---|
| Targets Destroyed | 60% | Process more targets, not fewer perfect shots |
| Time Efficiency | 25% | Batch same-bearing targets to save rotation time |
| Ammo Efficiency | 15% | One HCHE clearing 2 targets beats two single HE |
Challenge Types
FDC Pause Challenge
Execute fire missions using only the FDC pause targeting technique
Batch Targeting
Fire multiple shells at coordinated targets in rapid succession
Speed Fire Mission
Complete the entire 6-step fire mission loop under time pressure
Core Mechanics
Challenge modes in Iron Nest provide structured scoring scenarios that test different aspects of turret operation. Eight challenge types are available: FDC Pause (planning complex multi-target solutions under time pressure), Batch Targeting (coordinating simultaneous fire across multiple grid references), Speed Run (completing missions as fast as possible), Precision Fire (maximum accuracy with wind and drift corrections), Chemical Ethics (navigating moral choices about chemical shells), Blind Fire (firing without spotter confirmation), Marathon Siege (enduring extended missions with fatigue mechanics), and Survival Mode (defending against incoming threats while maintaining operations). Scoring is weighted: target destruction counts for 60% of the score, mission time for 25%, and ammunition efficiency for 15%. The FDC pause challenge is the highest-rated because it tests the full skill set — rapid plotting, calculator input, and execution speed. Leaderboards track global rankings, and challenge-specific strategies like batch-grouping nearby targets or pre-setting elevation between missions are essential for competitive scores.
Advantages
Challenge modes extend Iron Nest's gameplay well beyond the campaign by introducing structured competitive scenarios with distinct scoring mechanics. The eight challenge types test different skill combinations — FDC pause challenges strategic planning, speed runs test execution speed, precision challenges reward accuracy, and chemical ethics challenges explore the moral system. The weighted scoring system (60% targets, 25% time, 15% ammo efficiency) creates meaningful tradeoffs between speed and precision, rewarding balanced operators over specialists. Global leaderboards provide long-term competitive motivation, and the challenge-specific strategies documented in the wiki help operators optimize their approach for each mode. Challenge modes also serve as the primary endgame content, offering high-replayability content that keeps the experience fresh long after the story campaign is completed.
Challenges
Challenge modes suffer from uneven difficulty distribution across the eight types. FDC pause and survival challenges are significantly harder than blind fire or marathon modes, creating a scoring disparity where some leaderboards are dominated by specialists rather than well-rounded operators. The weighted scoring system (60% targets, 25% time, 15% ammo) overemphasizes target destruction, making it difficult for precision-focused players to compete with aggressive target-focused strategies. Some challenges have limited replay value once the optimal strategy is discovered — batch targeting, for example, becomes formulaic once operators learn the proximity grouping technique. The chemical ethics challenge's narrative consequences persist across sessions, meaning one moral choice locks content that might be needed for a different challenge attempt. The leaderboard system is also vulnerable to exploit strategies that circumvent the intended difficulty, though the developers have been responsive in patching these.
Frequently Asked Questions
When should I use an FDC pause?+
Is accuracy or speed more important?+
What is batch targeting?+
Quick Tips
In FDC pause challenges, batch-target 2-3 nearby positions using a single powder charge and elevation setting, adjusting only traverse between shots. This minimizes the time spent on the slowest step (powder lever changes) and maximizes the number of targets destroyed per pause cycle. This practice becomes increasingly important during extended sessions where fatigue and repetition can lead to complacency and costly mistakes.
Ammo efficiency accounts for 15% of your challenge score. To maximize it, always select the shell with the smallest blast radius that still covers the target — AP for point targets instead of HE, and avoid wasting S-tier shells on easy targets that B-tier shells can handle. This practice becomes increasingly important during extended sessions where fatigue and repetition can lead to complacency and costly mistakes.
Leaderboard discipline means knowing when to abort a challenge attempt that is going poorly rather than completing it for a low score. A failed attempt does not count against you, but a completed low-score run stays on the leaderboard. Reset and try again when early mistakes make a top score impossible.
Featured
Iron Nest Challenge Modes: 8 Modes, Scores & Leaderboards
Master Iron Nest challenge modes with our 2026 guide. Learn FDC timing, efficiency scoring, and how to climb leaderboards across all 8 modes.
Iron Nest Challenge Modes: Speed, FDC, and Leaderboard Guide
Everything you need to know about Iron Nest challenge modes, from speed fire missions to FDC pause challenges and leaderboard strategies.
Iron Nest Batch Targeting Challenge: Multi-Target Strategy
Master the batch targeting challenge with proven Iron Nest tactics. Learn multi-target scoring, ammo picks, sweep patterns, and tier breakpoints to climb the leaderboard.
All Articles
Iron Nest Challenge Mode Strategy: Master Every Run
Unlock Iron Nest challenge mode strategy with proven tactics for speed runs, FDC pauses, batch targeting, and leaderboard climbs from veteran players.
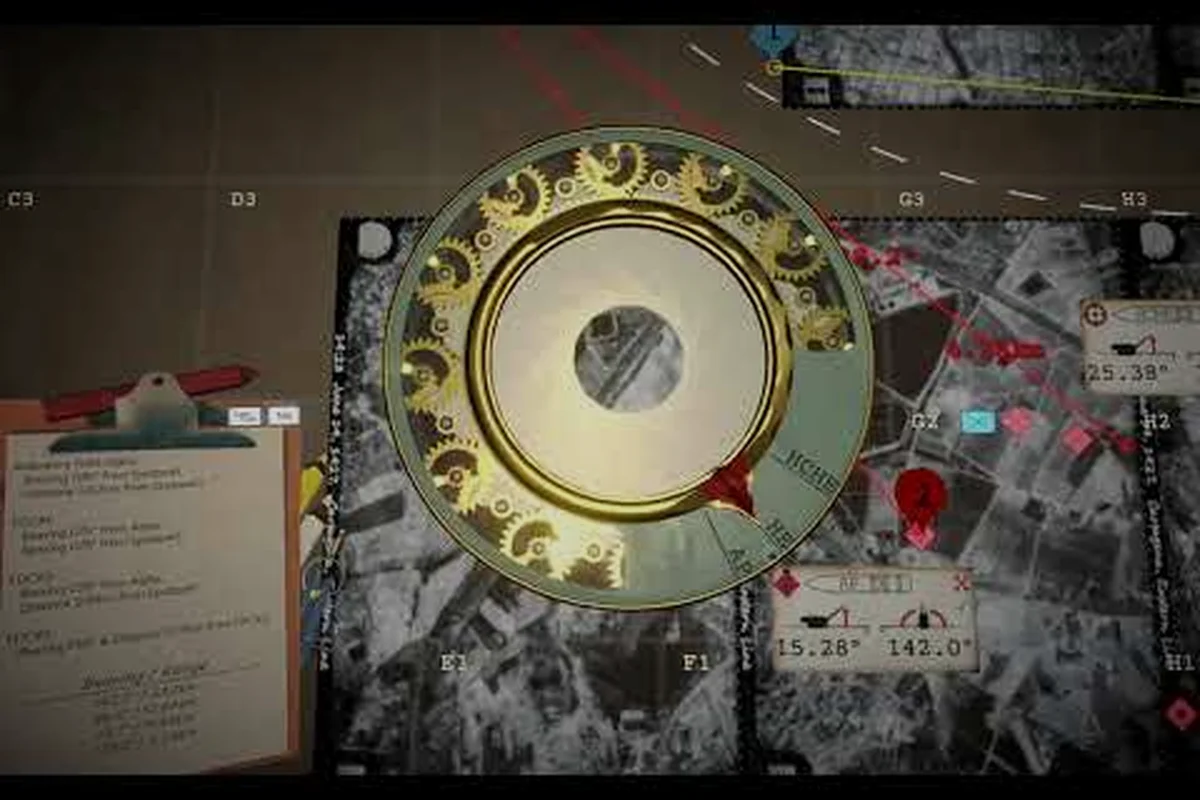
Iron Nest Leaderboard Strategy: Climb Challenge Ranks Fast
Master the Iron Nest leaderboard with proven challenge leaderboard strategy tips. Learn how Iron Nest ranks work and climb to the top of every challenge mode.
Iron Nest Speed Fire Mission: Timing Guide & Speed Tips
Iron Nest speed fire mission timing broken down—charge selection, calculator reads, and the fastest shooting loop to crush every Speed Challenge tier.
Iron Nest FDC Pause Challenge: Timing & Best Score Tips
Master the FDC pause challenge in Iron Nest with proven timing strategies, ballistic calculator workflow tips, and challenge mode scoring tactics to boost rank.